Monday, April 30, 2012

Black Banana


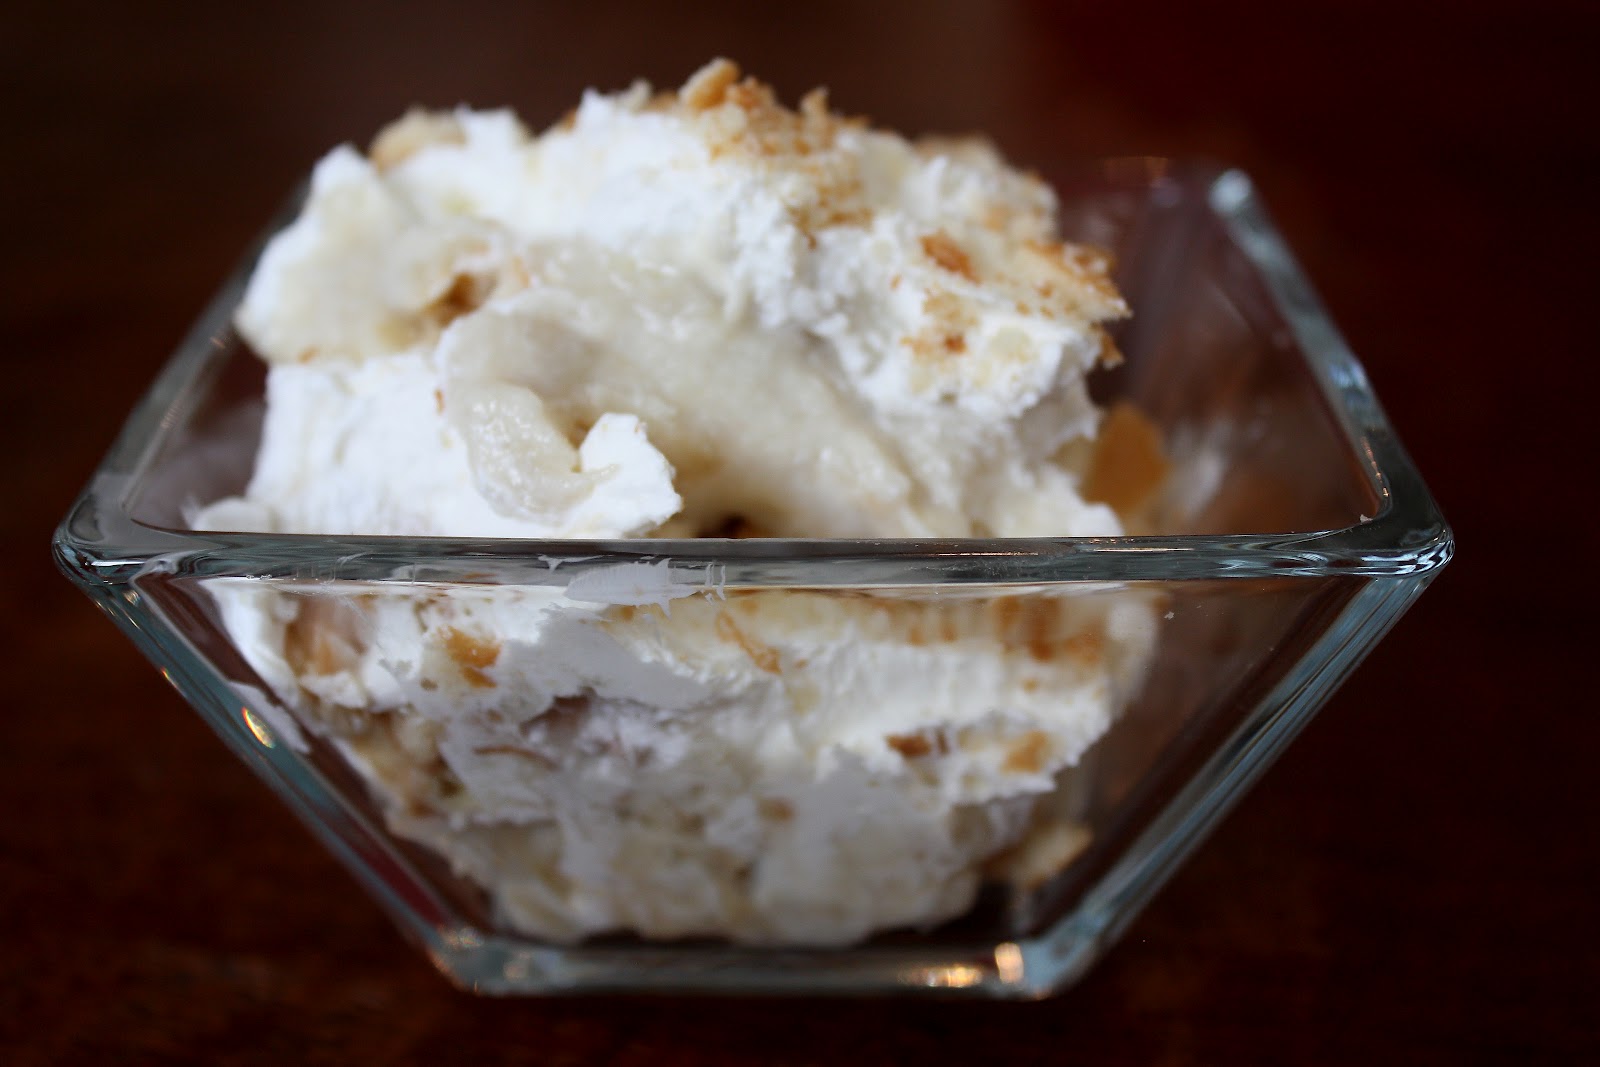
I was browsing through some old issues of magazines for dinner recipe inspiration. I don't know how that mission ended up with me in the kitchen making a dessert that only my husband would eat, but sometimes when I decide to make something there is no stopping me.  I don't eat bananas and thought the dessert was a little too sugary for Rex, but I can promise you that Forrest was happy that I decided to recreate this recipe in my own kitchen.  He enjoyed it for several days after almost every meal.  I was drawn to the roasted banana process and wanted to see how that would impact this very old fashioned dessert.  Forrest loved it, but said it was very different from any other banana pudding recipe he has had in the past because of the mashed bananas mixed into the pudding. 

Roasted Banana Pudding
Adapted from Cooking Light August 2011

Ingredients

  • 5 ripe unpeeled medium bananas (about 2 pounds)
  • 2 cups 2% reduced-fat milk
  • 2/3 cup sugar, divided 
  • 2 tablespoons cornstarch
  • 1/4 teaspoon salt
  • 2 large eggs
  • 1 tablespoon butter
  • 2 teaspoons vanilla extract
  • 1 (12-ounce) container frozen fat-free whipped topping, thawed and divided
  • 45 vanilla wafers, divided

Preparation

  1. Preheat oven to 350°.
  2. Place bananas on a jelly-roll pan covered with parchment paper. Bake at 350° for 20 minutes. Remove 3 bananas; cool completely. 
 

    3.  Peel and cut into 1/2-inch-thick slices.


    4. Bake the remaining 2 bananas at 350° for an additional 20 minutes.  Let cool. Carefully peel and place the 2 bananas in a small bowl, and mash with a fork until smooth.
    5. Combine milk and 1/3 cup sugar in a saucepan over medium-high heat. Bring to a simmer stirring  constantly (do not boil).
    6. Combine remaining 1/3 cup sugar, cornstarch, salt, and eggs in a medium bowl;


    7.   Stir well with a whisk. Gradually add hot milk mixture to sugar mixture, stirring vigorously with a whisk.


    8. Return milk mixture to pan. Cook over medium heat until thick and bubbly (about 3 minutes), stirring constantly. Remove from heat. Add mashed bananas, butter, and vanilla, stirring until butter melts.


    9. Place pan in a large ice-filled bowl for 15 minutes or until mixture comes to room temperature, stirring occasionally. Fold half of whipped topping into pudding.


    10.  Spread 1 1/2 cups of custard evenly over the bottom of an 11 x 7-inch baking dish. Top with 20 vanilla wafers and half of the banana slices.


   11. Spoon half of remaining custard over banana. Repeat procedure with 20 wafers, banana slices, and custard. Spread remaining half of whipped topping evenly over top. Crush remaining 5 wafers; sprinkle over top.


    12.   Refrigerate for 1 hour or until chilled.


Click Here for My Adapted Printable Recipe

Monday, April 23, 2012

Rex's 1st Birthday Party

Rex turned one year old six months ago, so it is about time I finally get around to blogging about his first birthday party. I realized that I hadn't documented it on the blog yet when I started thinking about his next party - so sad. But better late than never. We had a small party for family and close friends at our home on a Saturday in October. Saturday's in October are always centered around football in our household, so I kept the menu casual and ball game friendly. I made most of the food myself, ordered a few items from a local grocery and farmed out the cakes and cookies since I prefer not to bake when I host parties.

First, let's start with a picture of the Birthday Boy. I try not to flood this blog with pictures of him since it is a food blog and I strive to stay true to its origin, but I do love sharing him with my readers when the posts allow me to go in that direction. Forrest and I are so in love with this little guy and are so thankful for him every day. It was a hard first year with lots of adjustments, but we are so happy that he is the reason we had to celebrate that day.

Below is a picture of the invitation, the main birthday cake and his one year photo garland (thanks Pinterest for the idea) in the background. Very early on in his life Rex was given the nickname, "Beep Beep". I think nicknames are so funny, because it is almost impossible to shorten the name Rex and it seems like there would be no need for a nickname. But nicknames are given for all sorts of reasons and almost everyone in this family ends up with their own. As soon as I saw this stationary suite I knew this would be the party theme. It was too good to be true.

The next picture is a shot of the plastic silverware displayed in mason jars tied with Divine Twine, the smash cake in the shape of a car and his embroidered bib.

The website I used for the invites had coordinating almost everything. Below are the water bottle labels that were too cute to pass up.

I wanted to have something for the children to do while the adults gawked at the football games of the day. Since the party was in October, I put together a table with craft supplies and mini pumpkins for the kids to decorate in the backyard.

Below is a closer look at the photo garland I hung on our mantel. We took pictures of Rex on the 11th (he was born on the 11th of October) of every month during his first year. I then chose my favorite shot from each month and made the photo garland showing his growth during the year. It was a great personal touch to the decorations and the guests really enjoyed looking at them.

I ordered the cookies from a company that is sadly no longer in business. They made the most delicious decorated sugar cookies I have ever eaten. I put labels on the back of them from the same company that did the invitations and these served as the party favors.

As I mentioned above, I made most of the food with the exception of the mini-muffalettas and the sushi. I have also included a source list below of the companies I used for all of the party details. I love throwing parties and this one was a blast. 2nd birthday, here we come!

Menu:

Spinach and Artichoke Dip

Pizza Puffs
Mini Muffalettas
Buffalo Chicken Dip
Sushi
Hot Dogs & Chili
Potato Chips

Source List:

Stationary: WH Hostess
Cakes: Sweet Little Designs
Custom Jon Jon: Etsy seller renwill22
Custom Bib: Monogram Express
Cookie Favors: Company no longer in business :-(

Tuesday, April 17, 2012

Sly - Der

When I think of Sliders my mind automatically relates them to American Cuisine. I envision them topped with American cheese, ketchup, mustard and a pickle served along side a nice heaping pile of crispy French fries. The main reason I loved this recipe from the get go was because I loved the twist on the traditional preparation of those bitty burgers. Slider buns are so easy to find these days in the bread section of any grocery store and they even readily offer 100% whole wheat options. I am not the biggest fan of Italian sausage, but found that my ingredient choice of using a mild version was the perfect compromise and ensured the slider wasn't overcome by an anise flavor.

Italian Meatball Sliders
Adapted from Cooking Light March 2012

Ingredients

1 tablespoon olive oil, divided
3 garlic cloves, minced
3 shallots, finely diced
1/3 cup part-skim ricotta cheese
1/4 cup chopped fresh parsley
1/4 cup panko (Japanese breadcrumbs), toasted
1/2 teaspoon freshly ground black pepper
1/4 teaspoon crushed red pepper
1/8 teaspoon salt
8 ounces lean ground pork
2 (4-ounce) links Mild Italian sausage, casings removed
1 large egg
1 1/2 cups lower-sodium marinara sauce
12 wheat slider buns, toasted
12 basil leaves
12 small slices of fresh mozzarella

Preparation

1. Heat 1 teaspoon oil in a large skillet over medium heat; swirl to coat. Add garlic and shallots to pan; sauté 3 minutes or until shallots are softened, stirring frequently.

Combine shallot mixture, ricotta, and next 8 ingredients (through egg) in a medium bowl.

Shape mixture into 12 (1-inch) meatballs; flatten each meatball slightly.

2. Return pan to medium-high heat. Add remaining 2 teaspoons oil to pan. Add meatballs to pan; cook 6 minutes, turning once.

Add marinara sauce; bring to a boil, scraping pan to loosen browned bits. Cover, reduce heat, and simmer 12 minutes or until meatballs are done. Top meatball slider with a slice of cheese and cover the skillet for 2 minutes to allow the cheese to melt.

Top bottom half of each bun with 1 1/2 tablespoons sauce, 1 meatball slider, 1 basil leaf, and top half of bun.

Click Here for My Adapted Printable Recipe