Wednesday, November 21, 2012

"Make Me" Mushrooms


I know it seems a little late to be posting Thanksgiving recipe ideas, but this one is so easy it won't take much effort to pull off at the 11th hour.  And trust me, this is an amazing recipe.  Four ingredients and about four minutes of prep time to get this sensationally savory side dish (or appetizer, your choice) in the oven.  But if I am in fact too late to get this added to your menu for tomorrow, keep this recipe around - it is huge crowd pleaser!

Feta and Rosemary Stuffed Mushrooms

Ingredients:
  • 1/4 cup of Feta Cheese, crumbled
  • 1 1/2 teaspoons Rosemary, chopped fine
  • 4 medium Portabella mushrooms, sometimes called stuffing caps
  • 2 teaspoons Worcestershire sauce
  • Fresh Cracked Black Pepper
  • Non-Stick cooking spray

Preparation:

1.  Preheat oven to 400 degrees Fahrenheit.

2.  Mix the Feta and Rosemary in a small bowl.


3.  Wipe mushrooms clean with a clean dry dish cloth.  Pull stem from each mushroom and use a spoon to scrape away the mushroom gills. Discard the caps and gills.

4.  Brush the inside and the outside of the caps with Worcestershire sauce using a pastry brush.


Sprinkle the inside of the caps with cracked black pepper.

5.  Divide the Feta and Rosemary mixture evenly among the mushrooms.  Packing the cheese tight inside the mushroom cavity.  Place the stuffed mushrooms on a cookie sheet sprayed with non-stick cooking spray.


6.  Bake the mushrooms for 20 minutes or until the cheese melts and begins to lightly brown.  Serve immediately.


Click Here for My Printable Recipe

Monday, November 12, 2012

MDA MAC N CHZ

*  Above Image Credit: MDA DairySpot

The MidAtlantic Dairy Association is hosting a 30 Days of Mac & Cheese roundup on their website this month.  I am honored to have my Golden Mac & Cheese (seen below) featured as Day 11.  Check out the link here to see the recipe along with some other very drool worth Mac & Cheese recipes.


Thursday, November 8, 2012

Come out of the Candy Coma


Is everyone ready to detox from all the Halloween candy yet?  I couldn't wait for it to be out of my house.  There is just no need for a huge bucket of candy when two of three people in the household are either a toddler or a Type 1 diabetic!  So glad it is gone.

This is the perfect recipe for returning to healthy eating, not to mention probably the last thing your kids want to be served after eating candy for a week straight ;-)  I don't know why brussels sprouts get such a bad rap - these little guys are delicious, and cute too!  This recipe was very simple and used hardly any ingredients.  It was perfect for a weeknight side dish.  But I feel inclined to warn you, roasting these tiny green veggies will stink up your house.  Something awful!  So even though they are delicious, don't add them to your menu when you are having guest over that you need to impress.

Roasted Romano Brussels Sprouts
Adapted from Cooking Light November 2012


Ingredients

  • 3 tablespoons olive oil
  • 1/2 teaspoon sea salt
  • 1/4 teaspoon freshly ground black pepper
  • 2 pounds Brussels sprouts, trimmed and halved lengthwise
  • Cooking spray
  • 1 ounce pecorino Romano cheese, shaved (about 1/3 cup)


Preparation

1. Preheat oven to 425°.
2. Combine olive oil, salt, black pepper, and Brussels sprouts in a medium bowl; toss well to coat.


Divide Brussels sprouts mixture evenly between 2 small roasting pans or jelly-roll pans coated with cooking spray. Bake at 425° for 20 minutes or until Brussels sprouts are browned and crisp-tender, rotating pans after 10 minutes. Remove from oven. Sprinkle Brussels sprouts evenly with cheese. Serve immediately.


Click Here for My Adapted Printable Recipe

Tuesday, October 30, 2012

Making Morning Muffins


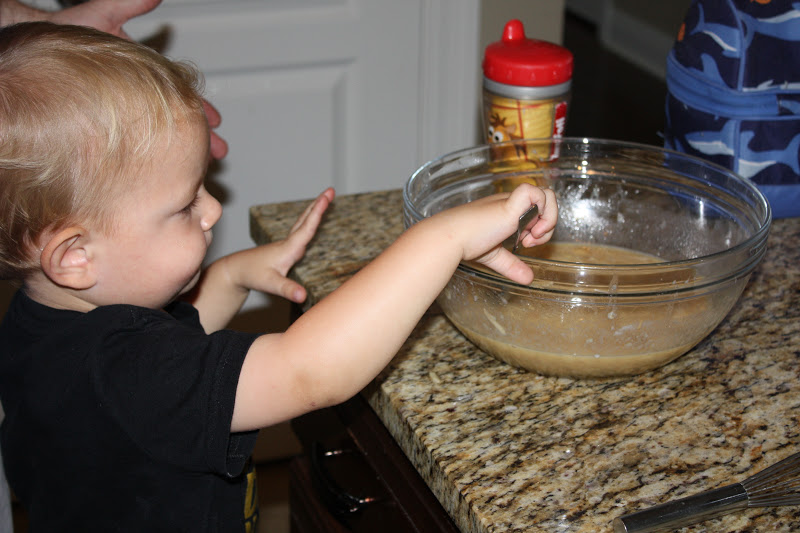
Rex had gotten into the habit of eating Little Debbie Mini Blueberry Muffins for breakfast several days a week.  And since Rex doesn't have any source of income, a checking account, and can't drive to the grocery I had to admit that I was solely responsible for this new habit.   I liked the ease of availability of the muffins and the portability, but figured there had to be a healthier option available to my little tot.  So after a quick Internet search I settled on this recipe.  I let Rex help prepare them figuring that would up the excitement factor and after they were cooled I packaged them off by threes in snack-sized Ziplocs.  I felt much better about these as a component of his morning breakfast than the prior alternative.


Banana Apple Mini Muffins
Recipe from Weelicious


Ingredients

  • 1 1/2 cups all purpose flour
  • 1/2 cup old fashioned oats
  • 2 teaspoons baking powder
  • 1/2 teaspoon baking soda
  • 1/2 teaspoon salt
  • 1 teaspoon cinnamon
  • 3 tablespoons vegetable or canola oil
  • 1/2 cup  honey
  • 1 egg
  • 1/2 cup milk
  • 2 bananas, mashed
  • 1 medium apple, peeled and grated


Preparation

Visit Weelicious's Site at the link below for the preparation steps: http://weelicious.com/2010/06/17/apple-banana-muffins/


Thursday, October 25, 2012

Tostada Technique


I never order tostadas when I dine out and I have avoided making them until this recipe, because to be honest; I just didn't know what to do with them.  I mean, a taco should be rolled up and eaten or at least folded in half - "How do you manage eating a taco on a flat shell?", I wondered!  The reason I even decided to take the plunge and make this recipe was because of the ingredient list.  I love corn and zucchini and figured adding cheese and sour cream to them couldn't hurt. Even up until the point when I served this dish I wasn't sure how to go about eating a tostada.  But as I sat down to my plate I asked Forrest that exact question and he said, "You eat it like a pizza!" And that is what we did.  Not sure if it is proper protocol, but we just picked it up and ate it like a mini pizza.  And it was super delicious!  Make these soon!

Chicken and Summer Veggie Tostadas
Adapted from Cooking Light November 2012


Ingredients

  • 2 teaspoons olive oil
  • 1 teaspoon ground cumin
  • 1/2 teaspoon kosher salt
  • 1/2 teaspoon black pepper
  • 1/2 teaspoon cajun seasoning 
  • 12 ounces chicken breast tenders
  • 1 cup chopped red onion (about 1)
  • 1 cup fresh corn kernels (about 2 ears)
  • 1 cup chopped zucchini
  • 1/2 cup salsa verde
  • 3 tablespoons chopped fresh cilantro, divided
  • 4 (8-inch) fat-free flour tortillas
  • Cooking spray
  • 3 ounces Pepper Jack cheese, shredded (about 3/4 cup)
  • 1 Tbs of Fat Free Sour Cream 


Preparation

1. Preheat broiler.

2.  Heat oil in a large nonstick skillet over medium-high heat.  Combine next 4 ingredients, stirring well.  Sprinkle the spice mixture evenly over chicken.


3.  Add chicken to pan; sauté for 3 minutes. Add onion, corn, and zucchini to pan;


sauté for 2 minutes or until chicken is done. Stir in salsa and 2 tablespoons cilantro.


Cook 4 minutes or until liquid almost evaporates, stirring frequently.

4.  Working with 2 tortillas at a time, arrange tortillas in a single layer on a baking sheet; lightly coat tortillas with cooking spray on each side. Broil 3 minutes or until lightly browned, flipping after 1 1/2 minutes.


Spoon about 3/4 cup chicken mixture in the center of each tortilla; sprinkle each serving with 1/4 cup cheese. Broil an additional 2 minutes or until cheese melts. Repeat procedure with remaining tortillas, chicken mixture, and cheese. Sprinkle each serving with about 3/4 teaspoon of remaining cilantro and a drizzle of sour cream ( I just put my sour cream in a ziplock bag and snipped the end to put it on the tostada). Serve immediately.


Click Here for My Adapted Printable Recipe

Thursday, October 11, 2012

Almost Almond


I don't know why I say it, but I do.  Every single time.  Anytime I eat something that is almond flavored I utter the phrase.  Over and over again.  Like I am some kind of expert.  Like I do it all the time.  As if I am so familiar with it that I couldn't be any more sure of myself.  Without fail. 

The second I bite into anything with even the most obscure hint of almond I can't help but remark, "It tastes JUST LIKE wedding cake!"  Maybe it does, you say.  Perhaps I know, and it is a fair comparison.  But I don't.  I wouldn't have the slightest clue what wedding cake tastes like.  I started to think about it last night and I can't tell you a single wedding I have been to in my memory that I have eaten the cake.  I just don't do it.  I didn't even eat my own wedding cake, not even one year later on my anniversary because I didn't want to figure out how to get the top layer from New Orleans to DC where I was living at the time. 

Why don't I eat the cake? It isn't because I don't like cake, or because I can't squeeze anymore food into an already snug dress.  It has to do with my moves.  I am a dancing machine and weddings are the prime place to strut my stuff.  By the time the cake is cut I am already full from the dinner (which I never miss out on ;-) and well into the refreshments and can't be bothered to leave the dance floor for even a moment to enjoy cake.  Other matters are more pressing, I have priorities!

But I know enough to know that wedding cake traditionally tastes like almond and so I feel confident in my statement.  And I do love almond flavored treats, A LOT - so chances are I would really like wedding cake - if only I could kick off my dancing shoes long enough to indulge.  Maybe next time....


Almond Bread
Adapted from Cooking Light October 2012


Ingredients

  • 1 1/2 cups all-purpose flour
  • 1 1/2 teaspoons baking powder
  • 1/2 teaspoon salt
  • 2/3 cup granulated sugar
  • 2 tablespoons butter, softened
  • 2 tablespoons canola oil
  • 1 (7-ounce) package almond paste
  • 2 large eggs 
  • 1/2 teaspoon vanilla extract
  • 1/2 cup plus 1 tablespoon 2% reduced-fat milk, divided 
  • Baking spray with flour (such as Baker's Joy)
  • 1/4 cup sliced almonds
  • 1/3 cup powdered sugar
  • Dash of salt

Preparation

1. Preheat oven to 350°.

2. Weigh or lightly spoon flour into dry measuring cups; level with a knife. Combine flour, baking powder, and salt, stirring well with a whisk.


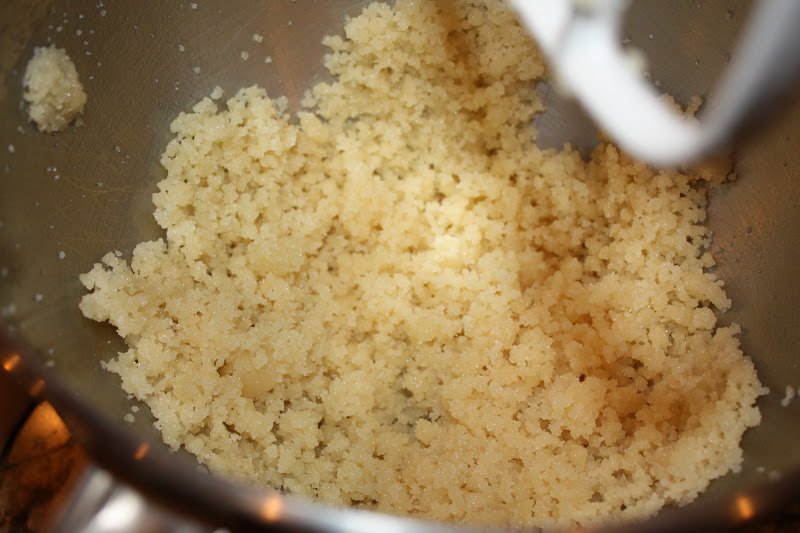
Place granulated sugar and next 3 ingredients (through almond paste) in a large bowl;


 beat with a mixer at medium speed until well combined (about 3 minutes). Add eggs, 1 at a time,


beating well after each addition;


beat in vanilla. Beating at low speed, add flour mixture and 1/2 cup milk alternately to butter mixture, beginning and ending with flour mixture; beat just until combined.

3. Scrape batter into a 9 x 5-inch metal loaf pan coated with baking spray;


sprinkle with sliced almonds.


Bake at 350° for 50 minutes or until a wooden pick inserted in the center comes out with moist crumbs clinging. Cool in pan on a wire rack 10 minutes. Remove from pan; cool on wire rack.

4. Place powdered sugar in a small bowl. Add remaining 1 tablespoon milk and dash of salt; stir with a whisk until smooth. Drizzle glaze over top of bread;


 let stand until set.


Click Here for My Adapted Printable Recipe 

Monday, September 24, 2012

Good Gracious Grilled Cheese


I need to share this recipe before everyone puts their grills away for the cooler weather.  This was AWESOME.  I got this idea from a magazine several months back.  I can't for the life of me remember which one.  I kept saving the ripped out page and then finally "got rid" of it before I ever got around to making this.  It was such a simple concept that I didn't need a recipe, I remembered the basic idea of the dish and then improvised.  Basically I guessed on the grill time, substituted whole wheat baguette because I prefer the flavor and added the garlic rub trick that I learned from one of my co-workers back in VA. I wish I wouldn't have waited so long to give this a try.  This is the most perfect appetizer.  Simple yet elegant, quick yet gourmet, small yet satisfying!  This recipe gives whole new meaning to the idea of "grilled cheese".  Make sure you try it soon!


Grilled Brie Wheel with Grilled Baguette Slices

Ingredients: 
  • Small Brie Wheel
  • Whole Grain Baguette Sliced, 1/4 inch thick
  • 1 glove of garlic
  • Olive Oil
Recipe: 

1.  Cut garlic glove in half and rub on the top of the baguette slices.


2.Brush Brie wheel and the baguette slices with olive oil using a pastry brush.


3.  Grill Brie and baguette slices for 3-4 minutes per side, until grill marks appear.


4.  Serve Immediately.